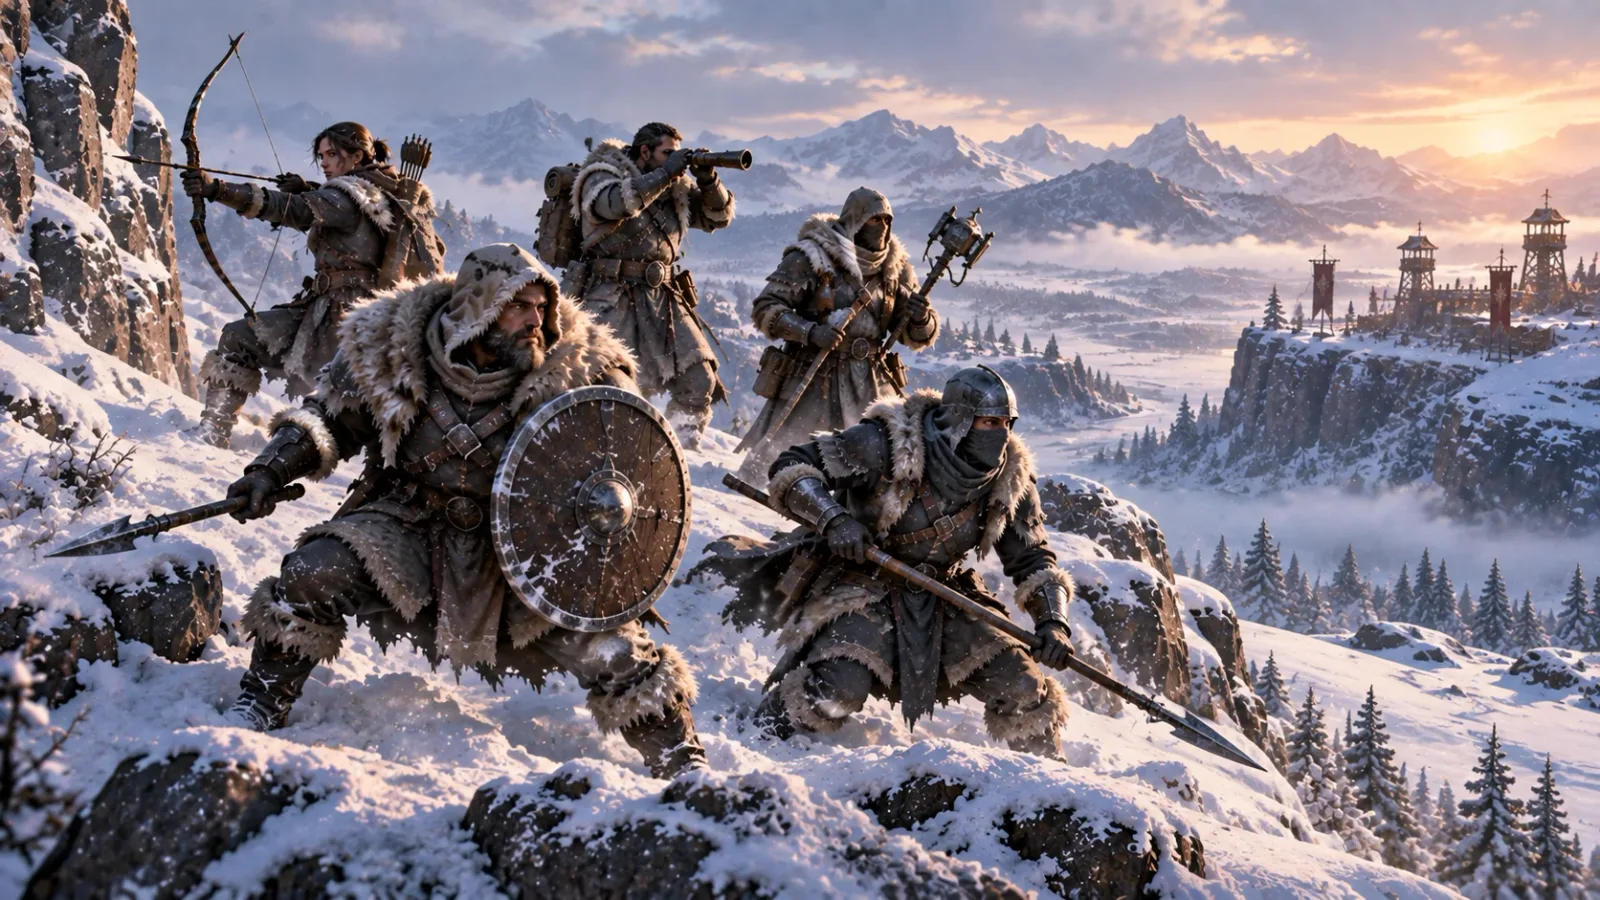
Whiteout Survival Heroes Guide 2026: Roles, Skills & Investment Priorities
How Whiteout Survival heroes actually work: troop-class roles, Expedition vs Exploration skills, leveling, star promotion, widgets, and how to prioritize investment across your roster.

Heroes drive nearly every fight in Whiteout Survival, from small skirmishes to State of Power battles, but the system underneath them (rarity tiers, two separate skill types, star promotion, and widget upgrades) trips up more players than it should. This guide breaks down how heroes actually work mechanically: what each troop class does, how Expedition and Exploration skills differ, how leveling and promotion are gated, and how to prioritize investment across a roster instead of spreading resources everywhere at once.
Quick Answer: How to Prioritize Hero Investment
Before the mechanics, here's the priority order that holds up regardless of which specific heroes you've recruited:
- Pick five heroes and commit to them. One Infantry tank, one or two Lancers, one or two Marksmen, with the mix leaning toward whichever role your alliance or playstyle needs most. Hero manuals and EXP are limited enough that a wide roster of half-built heroes loses to a focused core.
- Level with a Drill Camp once it's available (Furnace level 13+). Assign your core five as Drill Instructors so secondary heroes can share their level without burning EXP on heroes you're not actively using.
- Match skill manuals to what you actually do. Upgrade Exploration skills on heroes you send into Arena and Exploration stages, and Expedition skills on heroes you send with troops into PvP, rallies, and beast hunts. Don't pour Exploration manuals into a pure rally lead.
- Push star level before pushing raw stats. Star thresholds unlock entire skills, not just stat increases, so a hero stuck at a low star level is missing tools a fully starred hero already has.
- Save widgets for a settled Mythic hero. Widget-based exclusive gear only exists for Mythic heroes and only unlocks at 1 star, so spending widgets on a hero you might replace next generation is the most common waste of that resource.
The sections below explain why each of these matters and how the underlying systems connect.
Hero Rarity Tiers
Every hero in Whiteout Survival belongs to one of three rarity tiers, and rarity determines both power ceiling and how many skills a hero eventually has access to.
| Rarity | Color | Skills available | General acquisition |
|---|---|---|---|
| Rare | Blue | 2 Exploration, 2 Expedition (4 total) | Recruitment and common early sources |
| Epic | Purple | 3 Exploration, 2 Expedition (5 total) | Events, specific shards, occasional recruitment |
| Mythic | Gold | 3 Exploration, 3 Expedition (6 total), plus a separate widget-based exclusive skill line | Higher-tier events, generation-specific sources, top-tier recruitment |
Rarity is not the same thing as troop class. A Rare, Epic, or Mythic hero can belong to any of the three troop classes below, which is why evaluating a hero requires looking at both its rarity and its class together.
Troop Class Roles

Every hero belongs to one of three troop classes. Our full Whiteout Survival guide covers the basics of this split; here's how it affects investment decisions specifically.
| Troop class | Battlefield role | Investment implication |
|---|---|---|
| Infantry | Frontline tank, absorbs damage and holds the line | Prioritize survivability and defense skills; a well-invested Infantry hero determines how long your formation survives a fight |
| Lancer | Secondary damage and mobility, often a rally lead | Balanced skills matter more here than in the other two classes, since Lancers frequently lead rallies where both attack and troop-support skills come into play |
| Marksman | Backline single-target damage | Attack-focused skills pay off fastest here; Marksmen are usually the first heroes to show a clear power jump from skill investment |
A five-hero core built across these three classes (rather than five heroes from the same class) gives you a formation that can both survive and deal damage, which is why the Pillar and our beginner guide both recommend a mixed core over a single-class stack.
Expedition Skills vs Exploration Skills
Every hero has two separate skill categories, and understanding which one applies to which activity is the single most common point of confusion for players still learning the hero system.
| Skill type | Active during | Typical activities | Manual type needed |
|---|---|---|---|
| Exploration | Hero-only combat, no troops sent | Arena, Exploration stages, Hero's Journey | Exploration manuals matching the hero's rarity |
| Expedition | Combat and activities where troops are sent alongside heroes | PvP, rallies, world-map attacks, gathering, Beast and Polar Terror hunts, garrison defense | Expedition manuals matching the hero's rarity |
The manuals are not interchangeable, and manual rarity has to match hero rarity: a Rare hero needs Rare manuals, an Epic hero needs Epic manuals, and so on. This is where new players lose the most value without realizing it. If you're stockpiling Exploration manuals but only ever send that hero out with troops, those manuals are sitting on a skill type that never actually fires in the content you play. Before spending manuals on any hero, decide honestly whether you use that hero for Exploration content, Expedition content, or both, and split investment accordingly.
How Hero Leveling Works
Hero level increases stats and troop capacity, and it's driven entirely by Hero EXP consumables (available in small, medium, large, and extra-large sizes) earned from activities like Lighthouse Intel, alliance gifts, beast slaying, and Exploration battles.
The current hero level cap is 80, but you can't simply pour EXP into a hero and hit that cap immediately. Your Furnace level gates the maximum hero level available at any given time, with the cap rising in stages as your Furnace grows; reaching Furnace level 26 is required before any hero can reach level 80 at all. This is one more reason the Furnace functions as the pace-setter for your whole account, heroes included, not just buildings and troops.
Once your Furnace reaches level 13, the Drill Camp unlocks, and it changes how leveling should be approached. Rather than manually leveling every hero you want to use, you assign a small number of heroes as Drill Instructors and place other heroes in Drill Slots underneath them; those secondary heroes temporarily match their instructor's level without needing individual EXP spent on them. In practice, this means your actual EXP investment should go into your core five as Drill Instructors, while situational or backup heroes ride along in Drill Slots instead of competing for the same EXP pool.
How Hero Promotion (Star Level) Works
Leveling raises stats, but star promotion is what unlocks a hero's full skill set, and the two systems are easy to conflate.
Heroes can be promoted from 0 stars up to a maximum of 5 stars, with each star made up of 6 segments, for 31 total promotion steps. Promotion is fueled by hero shards, which come in two forms: hero-specific shards that only work on the hero they belong to, and general shards that work on any hero of the matching rarity color (a small number of heroes require hero-specific shards exclusively, with no general-shard alternative). Shard costs rise sharply at higher star thresholds, from a handful of shards at the earliest segments to roughly 100 shards per segment once a hero reaches its 3-star and 4-star bands.
What makes star promotion matter as much as leveling is what it unlocks:
| Star threshold | What unlocks |
|---|---|
| 0 stars | First skill available |
| 1 star | Second skill unlocked, and Mythic heroes' exclusive gear slot becomes available |
| 2 stars | Third skill unlocked (where the hero's rarity provides one) |
| Higher stars | Remaining skills unlock in sequence up to the hero's rarity-based skill total, alongside large stat jumps |
A hero sitting at a high level but a low star count is missing entire skills, not just falling behind on stats. If you're deciding where to spend shards, a hero close to its next star threshold, especially one about to unlock a new skill, is usually a better target than spreading shards thin across your whole roster.
Widgets and Mythic Exclusive Gear
Widgets are a separate upgrade resource that only applies to Mythic heroes, and only after a Mythic hero has reached 1 star. Once unlocked, each Mythic hero gets an exclusive gear slot with its own 10-level upgrade track: level 1 costs 5 widgets and activates the hero's first exclusive skill, level 2 costs another 10 widgets (15 total) and activates a second exclusive skill, and costs continue climbing after that, reaching 275 widgets total at level 10.
Because widgets are hero-locked and can't be reassigned once you commit them, the practical guidance is to hold selectable widget chests unopened until you're certain which hero you're developing, then prioritize heroes already sitting in your main formation over whichever hero is newest. For most free-to-play and moderate-spend accounts, reaching level 2 (both exclusive skills active, 15 widgets total) is a reasonable target before committing deeper, since it captures most of the practical value at a fraction of the level 10 cost.
Building a Five-Hero Core: Investment Priorities
If you're just starting out and haven't picked a core lineup yet, our beginner guide walks through a specific F2P starter five and why it works. Once you're past that stage, the investment priorities described in this article apply regardless of which named heroes end up in your core:
- Commit before you upgrade. Decide your five heroes (spread across Infantry, Lancer, and Marksman) before spending significant EXP, shards, manuals, or widgets. Reversing a mistaken investment is far more costly than the slower pace of deciding carefully first.
- Level through Drill Instructors once available. Don't split EXP across a wide bench when a Drill Camp lets secondary heroes ride along on your core's level for free.
- Match manuals to real usage. Track which heroes you actually deploy for Exploration content versus Expedition content, and buy manuals accordingly rather than defaulting to whichever type you have more of.
- Chase star thresholds that unlock skills, not just the next stat increase, when deciding where shards go.
- Treat widgets as a late-game, hero-locked commitment reserved for a Mythic hero you're confident is staying in your formation.
Once your core five is built out under these priorities, the natural next step is combining them into an actual formation for PvP rallies versus PvE Exploration, which our best formations guide covers in detail.
Common Hero Investment Mistakes
| Mistake | Why it costs you | The fix |
|---|---|---|
| Leveling a wide roster instead of a five-hero core | EXP and manuals are scarce enough that a spread roster stays weak everywhere | Commit to five heroes across the three troop classes and direct resources there |
| Upgrading the wrong skill type for how a hero is used | Exploration manuals spent on a pure rally lead (or the reverse) never pay off in the content that hero actually runs | Confirm whether a hero is an Exploration hero, an Expedition hero, or both, before spending manuals |
| Prioritizing level over star promotion | A high-level, low-star hero is missing entire skills, not just stats | Push toward star thresholds that unlock new skills, especially early ones |
| Spending widgets on a hero that might get replaced | Widgets are hero-locked and non-refundable | Wait until a Mythic hero is confirmed in your long-term core before spending past level 2 |
| Ignoring the Drill Camp after Furnace level 13 | Manually leveling every hero wastes EXP that Drill Slots could have saved | Set your core five as Drill Instructors and route secondary heroes through Drill Slots |
Where to Find Current Hero Rankings
This guide deliberately does not rank specific named heroes from best to worst. Hero power shifts with every new generation Century Games releases, and a ranked list frozen into an evergreen mechanics guide goes stale within a patch or two. For a current, regularly refreshed ranking of which named heroes to prioritize right now, see our hero tier list, which is built specifically to be updated as the meta changes rather than to explain the underlying systems covered here.
What to Read Next
- New chiefs who haven't picked a starter lineup yet should start with the beginner guide.
- Once your core five is invested according to the priorities above, check the hero tier list for current named rankings.
- Combine your heroes into an actual lineup with our best formations guide.
- For the full picture of how heroes connect to progression, chief gear, and events, start from our complete Whiteout Survival guide.

Ethan Cole is the Guides Editor at LootVora, covering game progression, builds, tier lists, resources, and strategy.